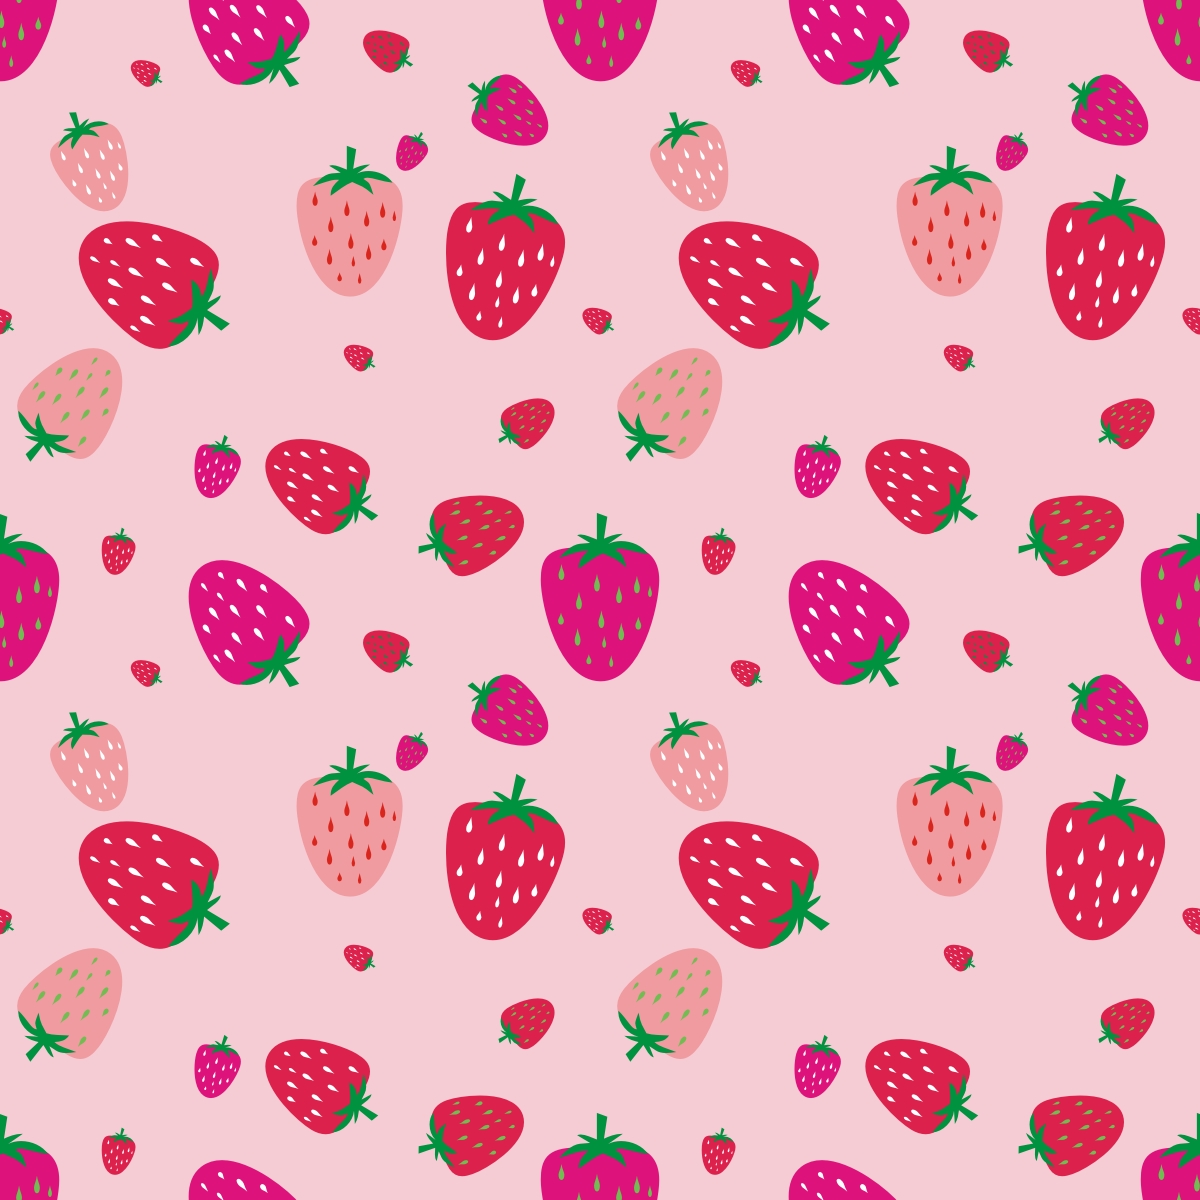
In this tutorial I want to show you how to make a Strawberry Pattern in CorelDRAW using some basic tools like the Basic Shape Tool, the Polyline Tool, the Rectangle Tool and repeating the tiles.
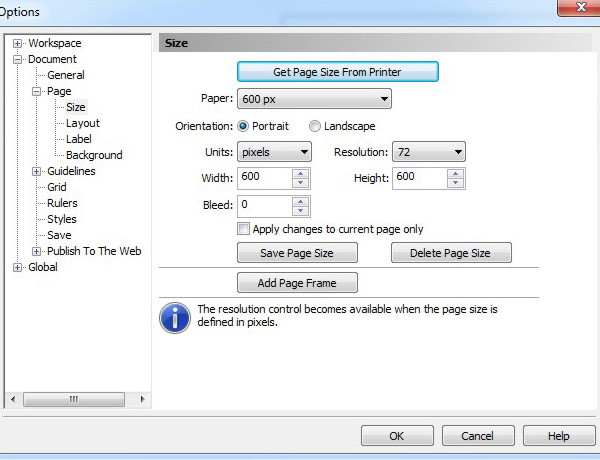
Step 1 Open the new file document in CorelDRAW and lets begin with a new Paper with the size of 600 x 600px.
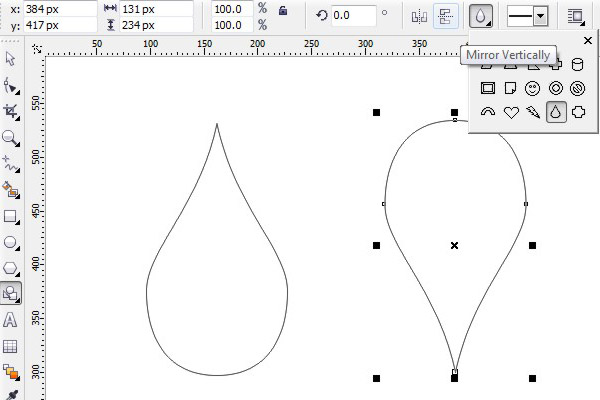
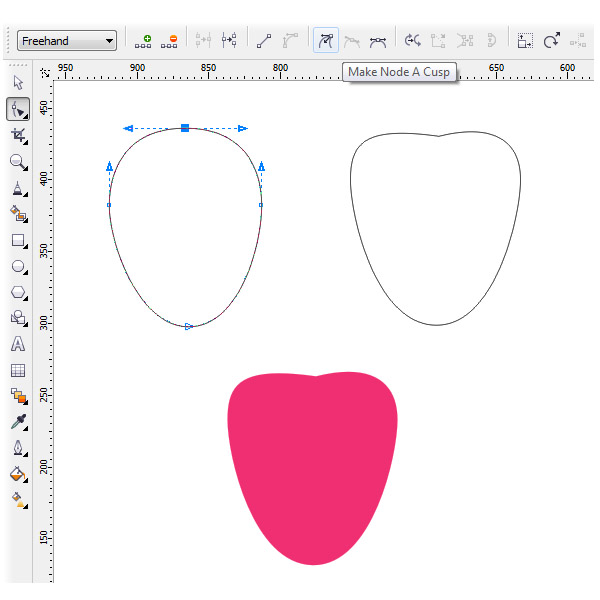
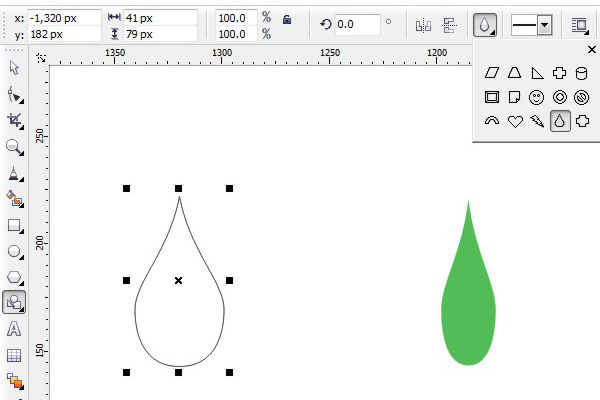
Step 2 In the Toolbar, click the Basic Shape Tool, choose the Water Drop Shape from the Perfect Shapes drop menu list. Drag into your artwork.
Click the Mirror Vertically icon on the Property Bar.
Head to Arrange>Convert to Curve (Ctrl+Q). Take the Shape tool (F10), click the the bottom node after that click the Made Node Symmetrical icon.
Drag the handle control to bottom. Make the object like shown below.
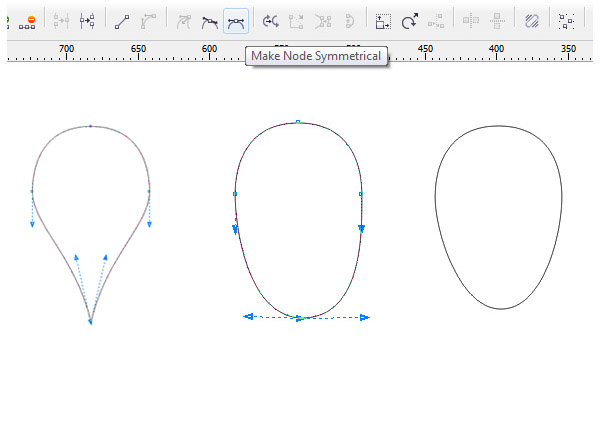
Step 3 Click the Shape Tool (F10) in the Toolbox. Select the top node and click the Make Node A Cusp icon on the Property Bar.
Go to Window>Color Palletes>Default CMYK Pallete. In the Color Pallete, you choose magenta color to fill the object and right-click on white square to remove the outline.
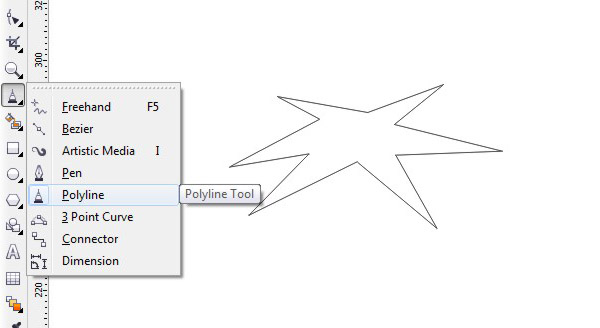
Step 4 Grab the Polyline Tool on the Freehand flyout to draw the leave.
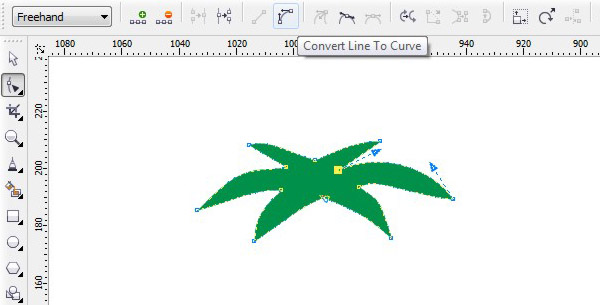
Step 5 Go to the Shape Tool once again and select the Convert Line to Curve icon on the Property Bar. Fill it to green color.
Set the outline to None. Create the leave like the image below.
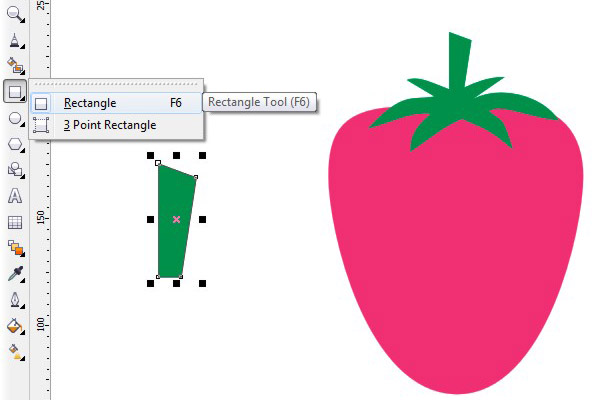
Step 6 Select the Regtangle Tool (F6). Draw the stem as shown below. Fill it to green color. Set the outline to None. By using the Pick Tool, select the leave and the seed then click the Weld icon in the Property Bar.
Step 7 Now, we going to draw the seed. Click the Basic Shape Tool, choose the Water Drop shape from the drop menu list. Create several copies of the seed.
With the Pick Tool select all objects. Group them together (Ctrl+G).


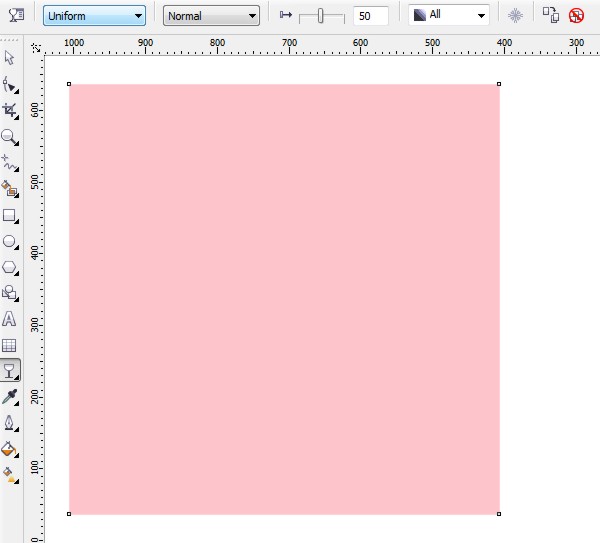
Step 8 Double-click the Rectangle Tool (F6) to create the background based on the page frame. Fill it with C= 2, M= 41, Y= 13, K= 0. Remove the outline.
Select the Interactive Transparency Tool. From the Transparency Type drop-down select the Uniform.
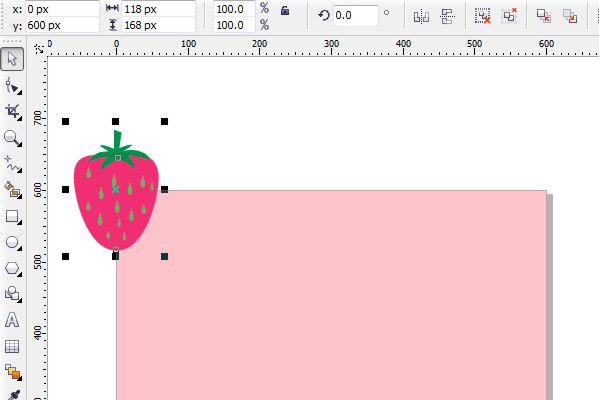
Step 9 Using the Pick Tool, place the finished strawberry in the x= 0 px, y= 600 px position.
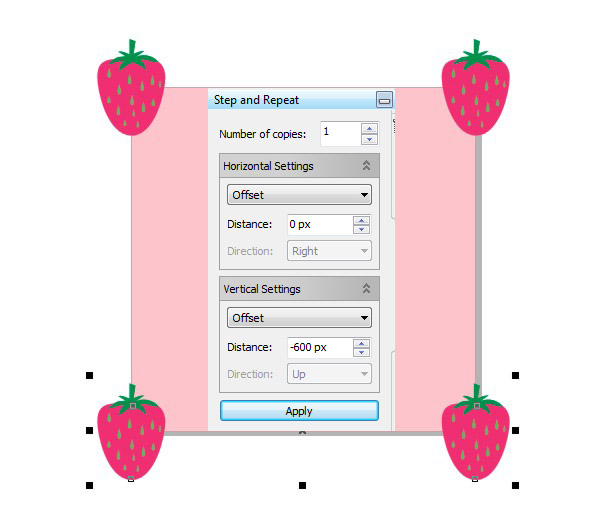
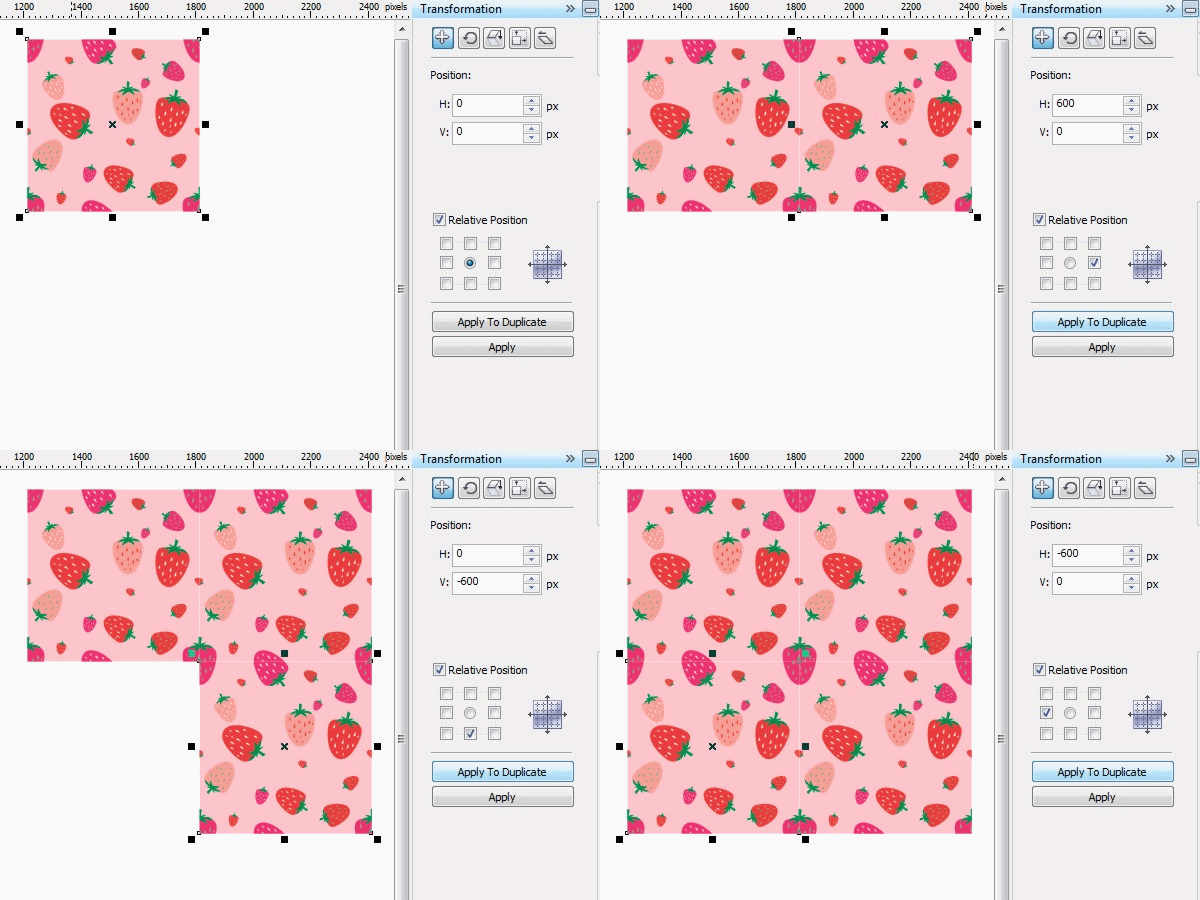
Step 10 Go to Edit>Step and Repeat (Ctrl+Shift+D). Set the Horizontal Distance to 600 px and the Vertical Distance to 0 px. Number of copies to= 1. Hit Apply button.
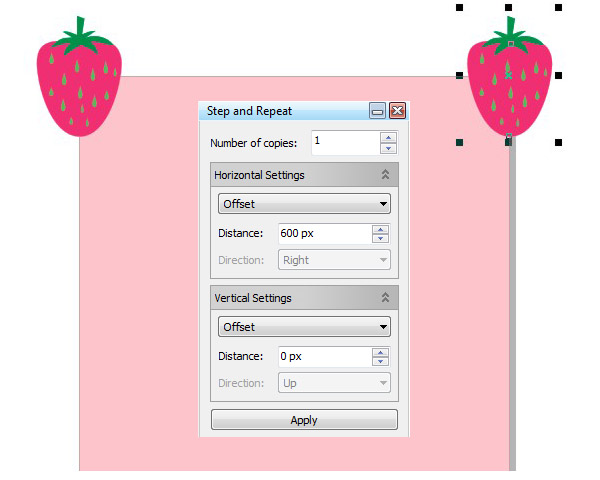
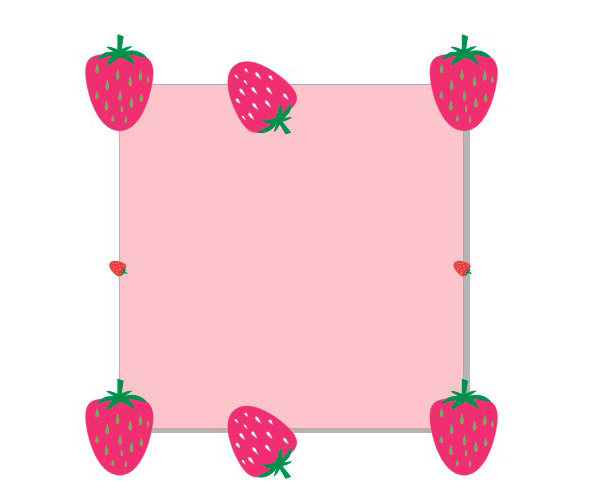
Select both strawberries with the Pick tool. Do the same like in the previous step.
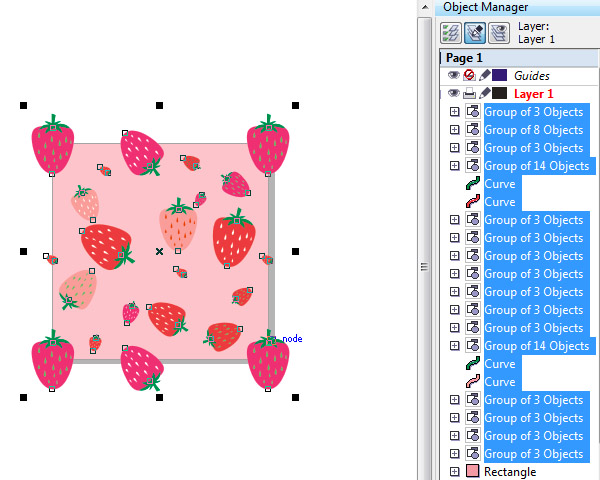
Give various size, rotate them or recolor the strawberries. And fill up the blank area as much as possible.
Step 11 Open the Object Manager docker by Window>Dockers>Object Manager.
Select all our strawberries using the Pick tool then pressing Ctrl+G.
Step 12 Go to Effects>PowerClip >Place Inside Container. Use the Bold arrow to click on the background. All objects will place inside the background.
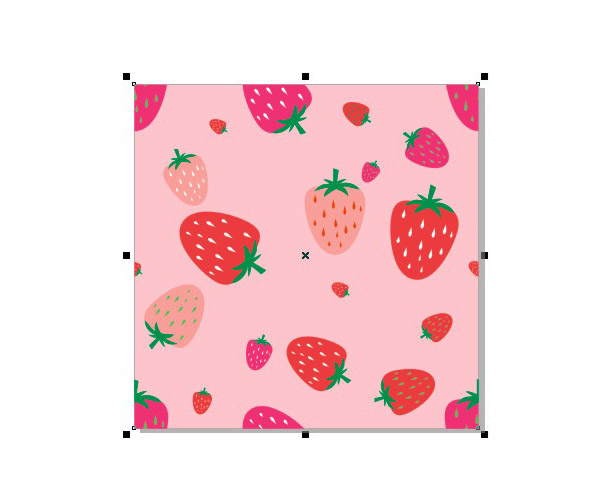
Step 13 Open Transformation Position docker. Your strawberry pattern should be like this.
Conclusion
That’s it, you’ve made the strawberry pattern! I hope that you learned something from this tutorial or having fun with CorelDRAW tools. Please share your creations in the comment section.

