So you want to create a badge in minutes and you don’t want to spend money?
In this tutorial you will learn, how to create a simple badge using Adobe Illustrator’s basic tools and free fonts / icons from dafont.com and meanicons.com. Of course you can download a lot of badges from royalty free stock sites such as shutterstock.com, graphicriver.net, or creativemarket.com but i think it’s a great fun to create your own.
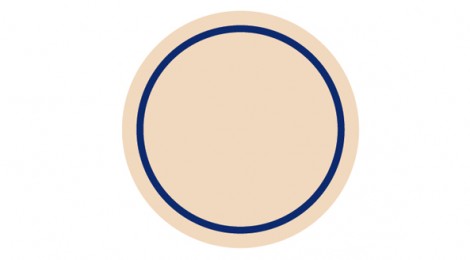
Let’s get started with creating a circle with the Ellipse Tool (L) and fill it with this color: C=4 M=14 Y=24 K=0.
2. Duplicate the circle by pressing Ctrl + C (copy) and Ctrl + F (paste in front). Fill it with another color C=100 M=95 Y=30 K=15.
3. Now duplicate the blue circle as you did in the step 2 and fill it with the same colors as the first circle.
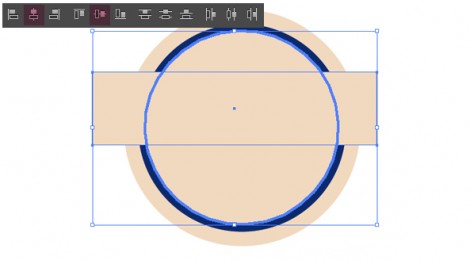
4. Create a rectangle using the Rectangle Tool (M) and align to the circles. Select the rectangle, press Shift and select the newest circle. While the objects selected, press the circle again. This way you select the object that will not move and the rectangle will be aligned to the circles. Now press Horizontal Align Center and Vertical Align Center.
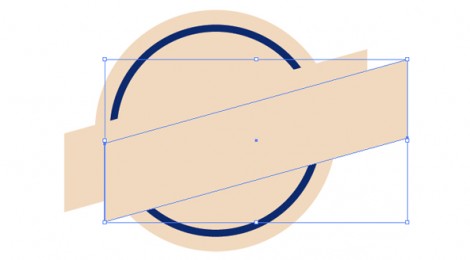
5. Select the rectangle, press E for transform options (you won’t see any changes), grab the right middle handle while pressing Ctrl and move it upward. When you are satisfied with the results, align again with the circles.
5a. Duplicate the object (Ctrl + C, Ctrl + F). Select the object from the top and move it with the arrow keys.
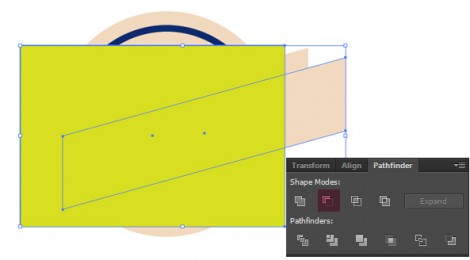
6. Create a rectangle. While pressing Shift select the other rectangle (you moved earlier) and go to the Window -> Pathfinder panel. Press Minus Front.
7. Repeat steps 5a and 6 now on the other side of the original rectangle. You will see something like the one on the image below. Select the two new objects, go to Object -> Arrange -> Send to Back.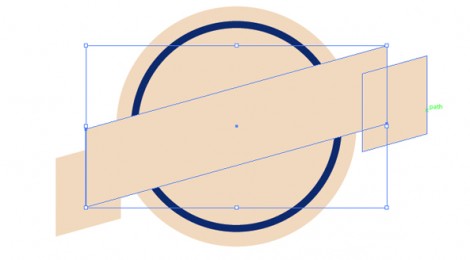
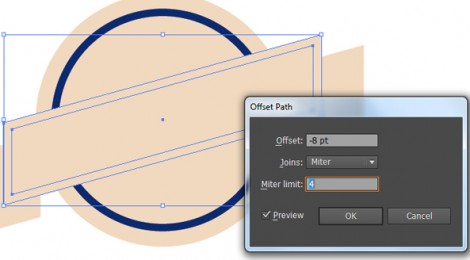
8. Select the top rectangle then go to Object -> Path -> Offset Path. Set the offset to -8pt, and press OK.
8a. Fill the resulted object with a nice color: C=7 M=75 Y=50 K=0.
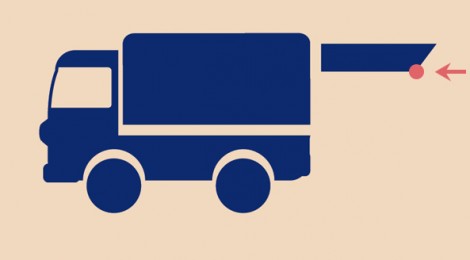
9. Select one of the small objects from the margin. Use the Pen Tool (P) to place a point as you see on the image above. Move that point with the arrow keys, until you get that ribbon effect. When you are done, repeat step 8 on the two objects and fill the new objects with that nice color you used before (C=7 M=75 Y=50 K=0). Use the Pen Tool (P) to create the shadow effect for the ribbon. Create a triangular object, this will be the other side of the ribbon. Fill it: C=27 M=37 Y=45 K=0. To place it under the ribbon cut (Ctrl + X) select the ribbon and Paste in Back (Ctrl + B).
10. Use the same step on the other side. You’re done with the badge!
[wp_ad_camp_2]
Free resources
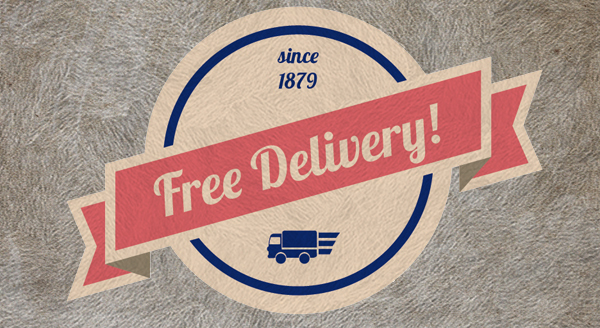
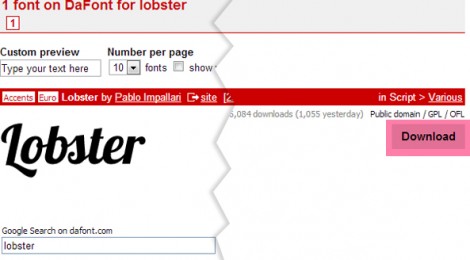
11. We need to add a text (“Free Delivery!“) and a car icon to finish this badge. Visit www.dafont.com to search for your favorite font, i will use Lobster. Download the font files. Before you use the font for commercial purposes, read the license!
12. After you download, install the font files and use them in your work. Rotate the text by clicking on the corner of the text box.
13. Visit www.meanicons.com. Download the Free icon Pack. If you like the icons in the free pack, you can visit later and buy one of the Pro or Mean Packs or just share the page with the world 🙂
After you downloaded the files, save them somewhere on your computer. Go back to Illustrator!
If you use Adobe Illustrator CS6
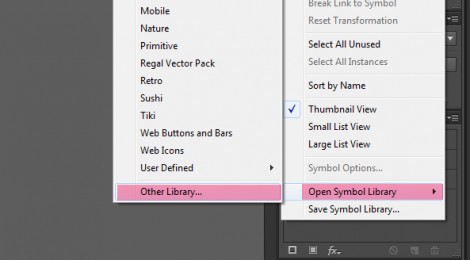
a. Go to Window -> Symbols panel. On the Symbols panel options select Open Symbol Lybrary -> Other Library.
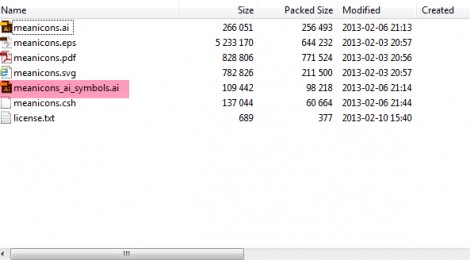
b. Search on your computer for the meanicons icon files and select meanicons_ai_symbols.ai.
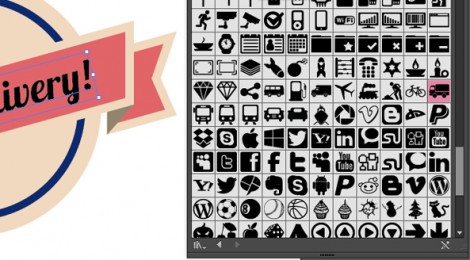
c. After you select the file, you will see a new panel with all the free icons from meanicons.com (as you see on the image below i’ve used the mean icon pack).
If you use an older version of Adobe Illustrator
a. Open the meanicons.eps file, ungoroup the icons if needed, search for the truck icon and copy it (Ctrl + C). In the work area paste and place the truck icon to your badge design.
Select the truck icon and copy the dark blue color from the circle with the Eyedropper Tool (I).
16. From the icons panel select the truck icon and drag to the work area. Press right mouse button and from the menu select Break Link to Symbol. Select the truck icon and copy the dark blue color from the circle with the Eyedropper Tool (I).
17. Create a rectangle with the Rectangle Tool (M). With the Direct Selection Tool (A) select the right bottom corner of the rectangle, and move it with the Left arrow key to the left.
18. Duplicate the this object (Ctrl+C, Ctrl+F), and move it down.Make it smaller with the Selection tool(V). Duplicate it and move it down again.
19. On the top insert the “Since 1879” text. That’s it!
You may think it’s complicated to create a badge like this, but after a couple hours of practice it will be easy. With the use of free resources from the internet you can add magic to your designs.
Tell us what you think about this tutorial!

