We use icons every day, but usually they are made by others. So when we know exactly what we need, it is better if we make our very own icon. Here is how to make a 3D book icon, that we can use more times, with some modifications.
Open a new document, i’m working with a 800×600 px workspace, and CMYK colors.
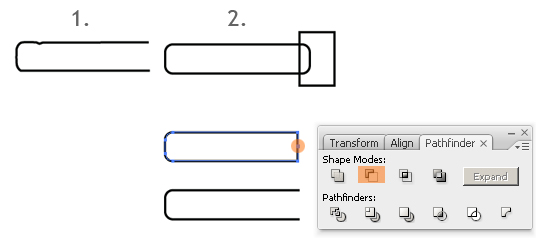
Draw a shape with your Pen tool (P), as you see in the image below (1). If you’re not familiar using the Pen tool, than you can try to create a rounded rectangle with the Rounded Rectangle tool, and with the help of a rectangle you can cut out a shape that you need (Window > Pathfinder > Alt + Subtract). Add a point to the right side of the shape, and delete it. So you have the shape. As you can see, it’s more easier to draw with the Pen tool. The final shape has a 115px width, and 26px height.
Set the stroke size to 4px. Go to Object > Expand, and click OK. Now the outline transformed into an outline + a shape you just need to ungroup them, and delete the outline.
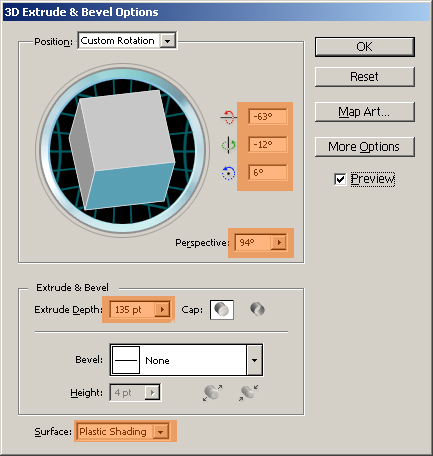
Go to Effect > 3D > Extrude & Bevel, and set these settings:
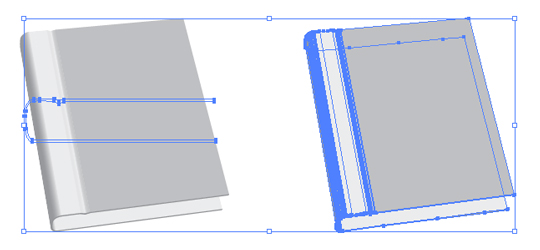
Go to Object > Expand Appearance and press OK. So you converted the 3D object into a simple grouped object. Ungroup this group of objects, until you have all separated.
Create a rectangle with the Rectangle tool (M) with sizes: width=105px, height=22px. Go toObject > Envelope Distort > Make with Warp, select the Squeeze style and set the Bend to 10%. Press OK. Go to Object > Expand, and press OK. Now we have the inside part of the book.


